I am interested in the idea of using LEDs for in-home lighting, due to their energy efficiency, cool running and other characteristics like colour and speed of startup.
LEDs have developed to the stage where they can produce a useful light output. This, of course, does not compare with incandescent bulbs, so for home lighting you have to combine lots of LEDs together to produce enough light. I was interested to see how many you would require, and the best way to arrange them.
My initial thoughts were that, because LEDs have a narrow projected beam, they would have to be distributed over the entire ceiling to produce useful coverage. This would also have the effect of producing shadowless illumination. I thought it would also look quite spectacular, and rid rooms of a central lighting feature. To this end, I decided to produce a board covered in LEDs and suspend it on the ceiling of the garage to see what the effect would be.
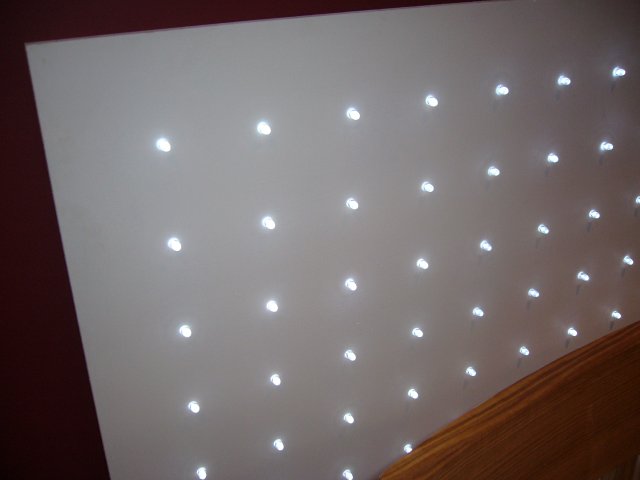
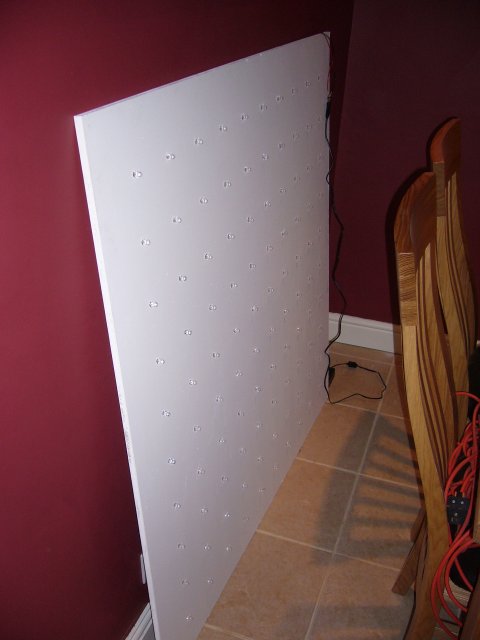
The construction would consist of a square sheet of MDF, 1200mm x 1200mm, and 100 LEDs purchased from ebay. The LEDs were the most powerful ones I could find, at 130Kmcd each, and also the largest at 10mm diameter. The LEDs were to be mounted evenly distributed over the board, calculated at 110mm centers. Initially I was going to drill 10mm holes to mount the LEDs in. However, this would mean that the flange at the back of the LED would have limited its protrusion through the board unless clearance for this flange was also drilled. I therefore decided to drill two small 1mm holes for each LED, so that the wires could be pushed through the holes to mount the LEDs on the front surface of the board. The wires could then be bent over at the back to secure them. I drilled the 1mm holes at the correct separation for the wires, and at a slight diverging angle to avoid shorts. Once all the holes were drilled, I painted the board white, to hopefully reflect more light forward.
Once I had painted the board, and installed all the LEDs, it was time to start wiring. I had decided to run the LEDs on a laptop power supply, as this gives a manageable voltage, is neatly packaged, and is of a switched mode design which is very energy efficient. The power supply I managed to source also had a variable voltage output between 15v and 22v and came with a range of connectors.
I did some calculations based on the specifications of the LEDs. The LEDs have a forward voltage drop of between 3.4v and 3.8v at 25mA, and I calculated that if I wired them in series in banks of 5, 18v from the power supply would provide each with 3.6v, and no resistors required. With 20 banks of 5, total current would be 0.5A, well within the capability of the power supply.
Actually soldering the wires was a time consuming job. I used multicore wire, soldered the banks of 5 first, then soldered the banks of 5 in parallel. Finally I added a socket for plugging in the power supply. Then it was off down the garage to install it.
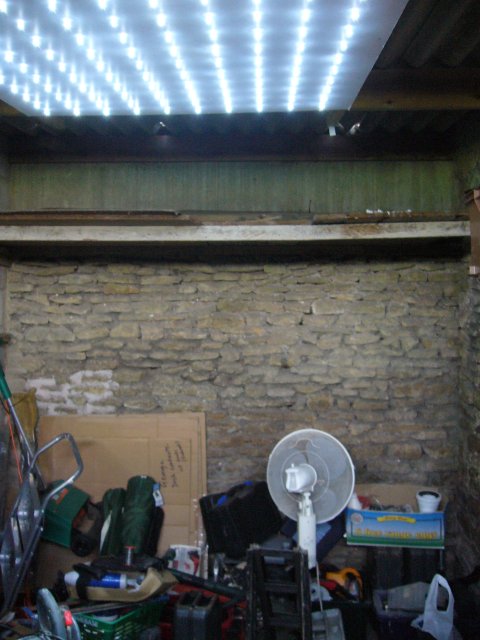
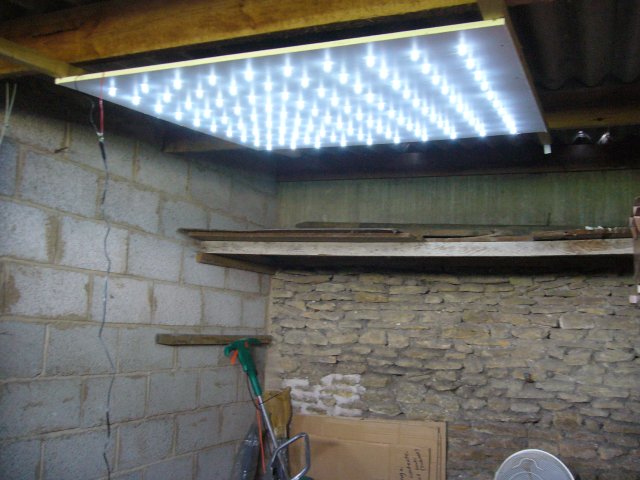
As the separation of the rafters wasn't quite right, I screwed two 1"x1" lengths of timber down each side of the board, then screwed these to the rafters. I then plugged in the power supply, and the lighting unit came to life.
The light below the unit was superb, very white like daylight, and shadowless as expected. Light given towards the edge of the room, though, was not good. As had been determined earlier, the LEDs need to cover the whole ceiling. The LEDs used have a beam angle of 12 degrees, and attached to a 6 foot ceiling will give a pool of light about 15" in diameter on the floor. We need the light from adjacent LEDs to overlap higher up, so the separation of 110mm was about right.
The whole unit consumes 0.5A at 18v, or 9w. Given that a room may need 5 times the number of devices, this will take consumption up to about 45w. This is great, and considering the other benefits such as cool running, and an exceptionally usable light, I believe the test to be a success.
I now have to work on making a usable installation. This is likely to take the form of pre-wired smaller panels that can be attached to the ceiling, then linked electrically. I will probably start by designing an installation for the top bedroom.